| HOME | TIMELESS MODELS COLLECTION | WHERE TO BUY | FACTORY GALLERY FACTORY PAINTING GUIDE FACTORY ASSEMBLY CONTACT US |
| Precision Model Designs, LLC |
 |

| PAINTING OF THE FACTORY **************************************************************************************** Read this entire instructional first and acquire what you will need to complete this, some things you may want to substitute - for example you may want you factory to be gray stone and not brick.Remember, Take your time. It is also good to write down how you painted your factory so as you acquire more sets they will be similar in look and feel.**************************************************************************************** |
|
 Completely primer your model in flat black spray paint, you may want to spray it 2 - 3 times. the shine on the wet paint will make it hard to see the missed spots. Be sure to check the under areas of your model also. Let dry throughly. |
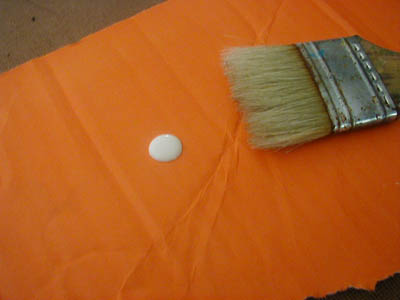
 Once completely dry, mist spray with a flat red paint, misting is not spraying throughly but simply pressing and releasing several time till you have a nice red over the black but the black paint still visible through the red. let dry. |
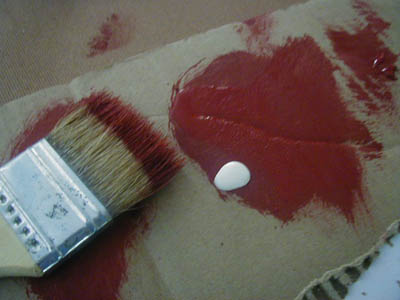
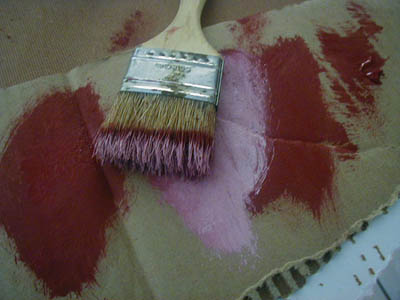
 We used an acrylic paint by "Apple Barrel" bought from Wal-mart called "Barn Red" acrylic paint for the first stage of dry brushing. put a small amount on a piece of card board and brush your paint brush through it briskly until hardly any comes off on a piece of card board first . |
 Now dry brush all the brick areas of the factory, Dry brushing is hardly any wet paint on your brush, you move your brush quickly over the surface of the model to get the raised areas of the model to bring out the detail. Practice this on a piece of card board until you are comfortable with this step. |
 Next repeat the dry brushing only add a small drop of off white, we used "Vintage White" by Folk-Art again from Wal-mart. |
 Repeat same step dry brushing on cardboard first until hardly any comes off then dry brush all bricked areas of your factory. |
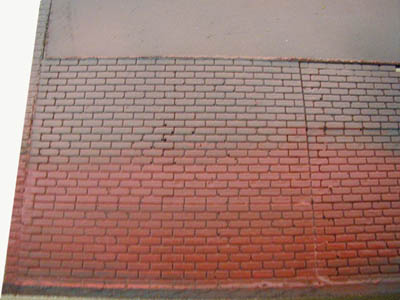
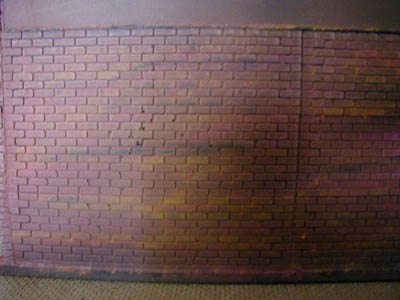
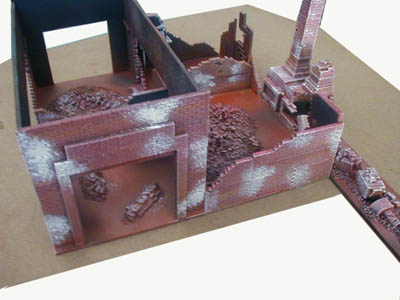
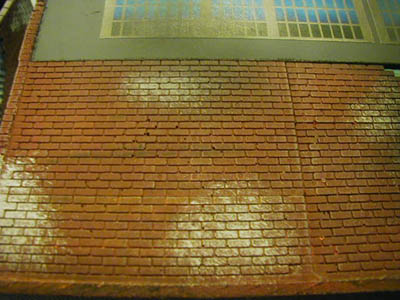
 When you are complete it should look something like this. |
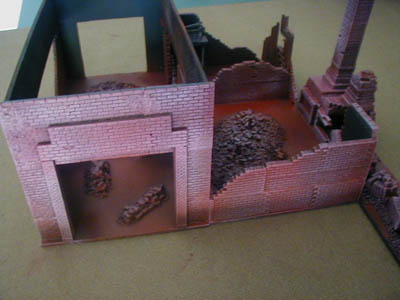 Note all bricked areas have been dry brushed, here are some samples of what it should look like... |
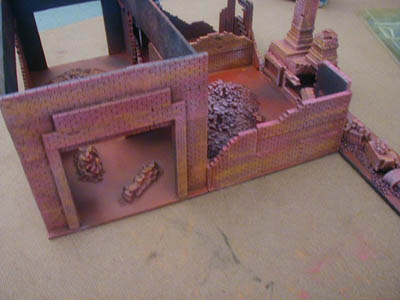
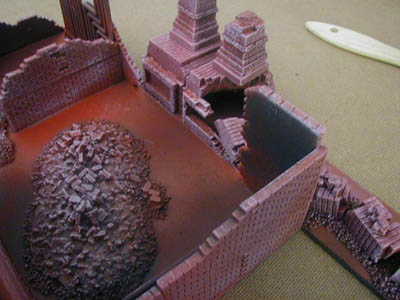 And here... |
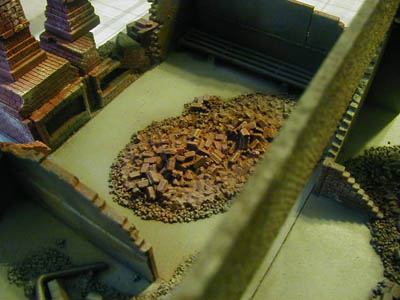
 And here, again all bricked areas including the bricked rubble piles, the wooden section we added to the factory has been also dry brushed in this step to bring out the stain that will be added to it later in the painting. |
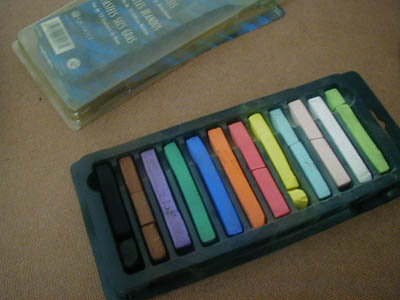 This step uses Pastels which can be bought in any art store. |
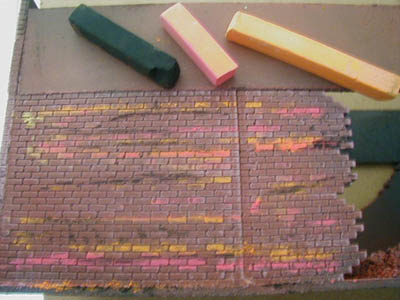 We used black, red and orange. very lightly rub them over the bricked surface. |
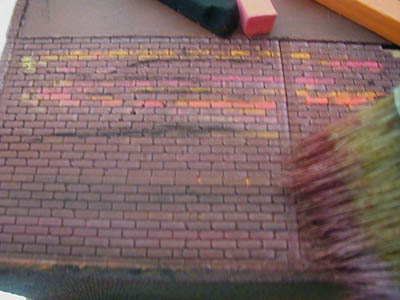 Next briskly use a brush to "rub" the colors in, you can repeat until you get the desired look. This gives the bricks a multi color dusty look. |
 finished look. (not in the picture, go back with either dark brown or black stain and paint some random single bricks for extra detail) |
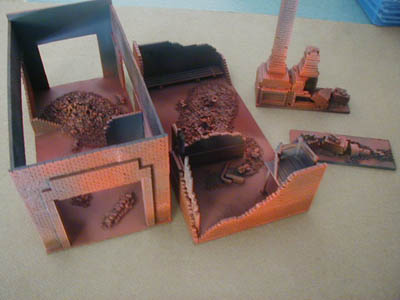
 The factory with pastels added. |
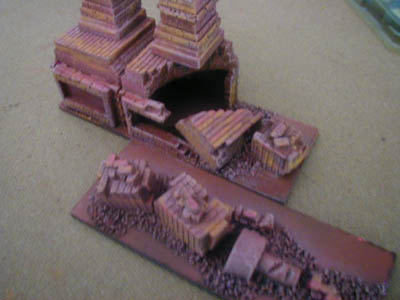 The furnace also... |
 Next we add the off white to simulate the washing effect from the mortar, this is dabbed on ... |
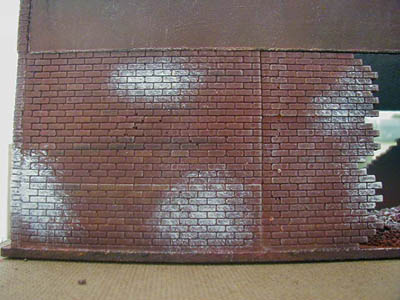 Dab the color something like this, just random. light a heavy. (The support wall at this time should be painted gray if you are going to use the windows only. |
 The factory has been complete in the step. |
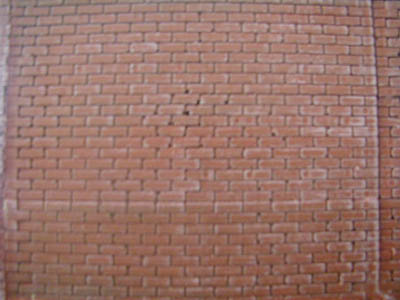
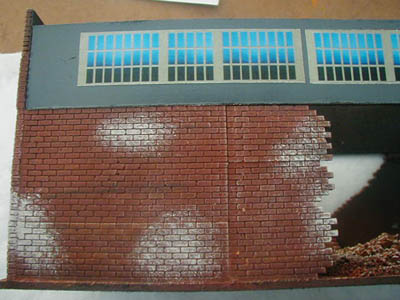 Next, you will have a sheet with a brick wall and windows, you can either add the 2 sheet brick pattern to your support wall or (as we did) cut out the window sections and stick them to the support wall. |
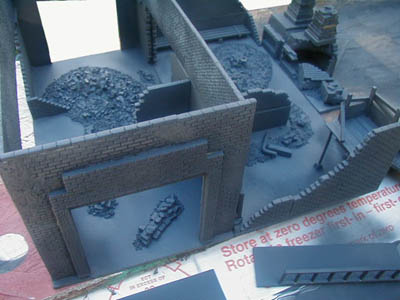
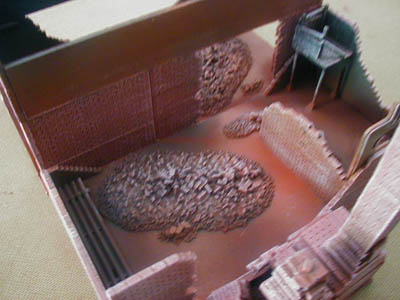
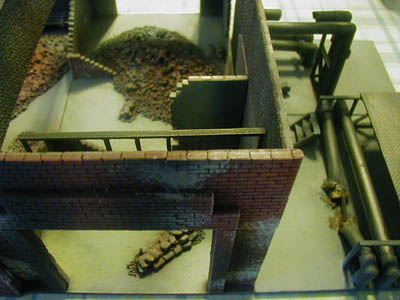
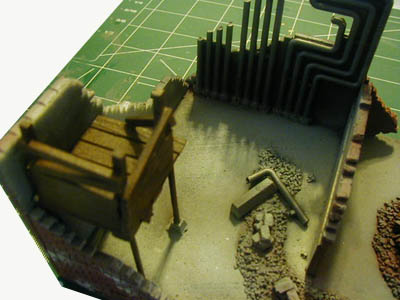
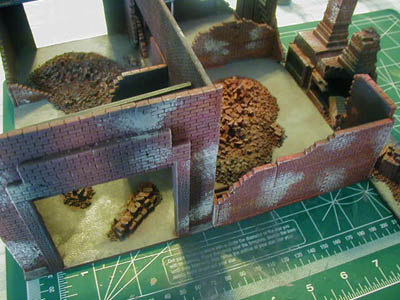 Paint your floors a gray for cement. I have noticed that when buildings are destroyed and they crumble, a find layer of dust coats every thing and the fires that once raged leave burn lines on the walls. Mist the entire factory inside LIGHTLY with gray spray paint or airbrush to simulate this. For fire lines, the best way to do this is with an airbrush but some don't have one so you can use flat black spray paint by simply spraying "QUICKLY" in lines where you want to show fire lines, try it first on a piece of cardboard or paper. NOTE be careful if you spray an area to long it WILL be spayed too black! Take your time and practice! |
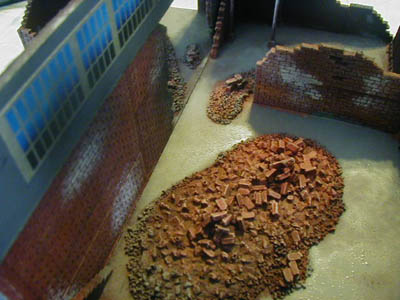 Here you see the black misting on the walls... |
 And here, see how light it is, you can still very much see the detail. |
 Here it was added to the furnace open areas. |
 Spray or paint black the metal areas of your factory then dry brush them with a sliver lightly. (remember the dry brushing process as described above with the brick except with silver in this step) |
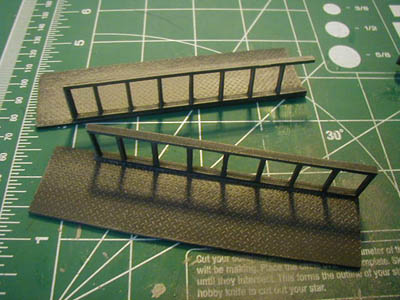
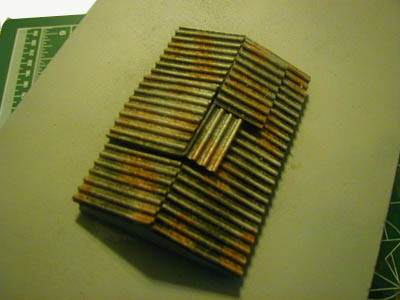
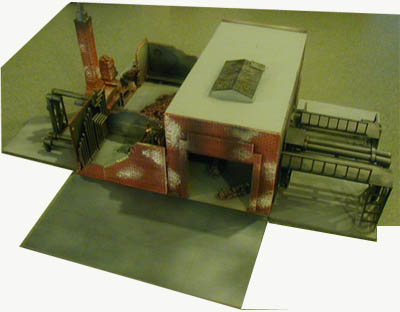
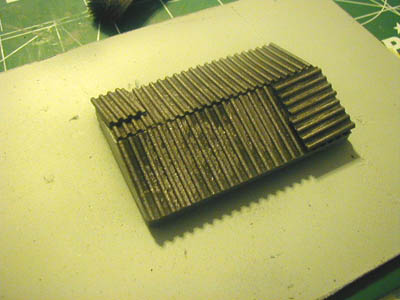 The entire roof has been painted gray,then the roof corrugated added. and you would dry brush silver the corrugated roof sections. |
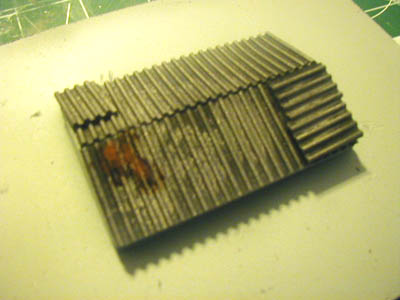 next to the roof or any of the metal in your factory you can add dark brown stain to simulate rust from rain or moister. |
 Simply dab the ink on the desired areas... |
 An example.... |
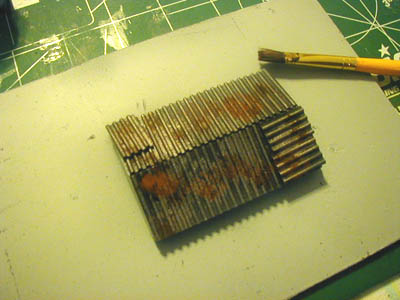
 and another. |
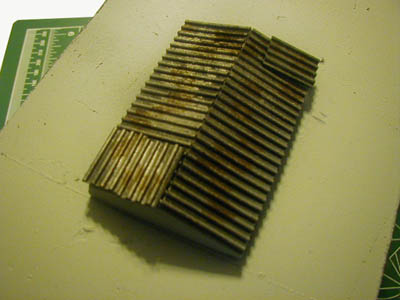
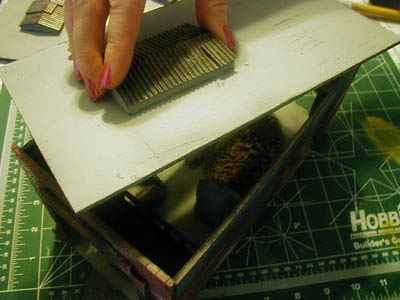 Note: the extended roof sections make for a great place to lift the roof off of the factory to gain access to the inside of the factory. be sure to seal it with a sealer well as it will get extra use once you are finished painting it. |
 The factory is complete! |
 I will admit these are pretty clean for the photos but you can go back and mist the factory, add dirt and so on until you are happy with your model. we used an off white to mist the wall for more color also. |
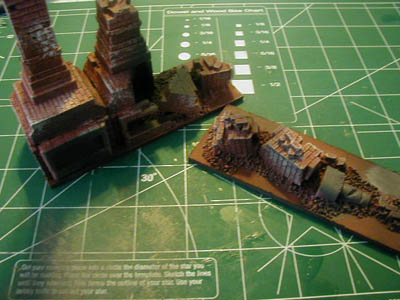
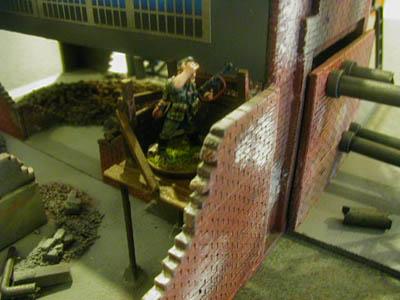 The sniper's nest turned out pretty good! it was simply stained with a dark brown. |
 You can see it better here... Don't for get to seal you building down with a clear coat! |
 We added a Pipes & Gantries set and WOW! it is really neat, lots of places for men to hide and fight around.! I hope this has aided you in your factory, see the FACTORY GALLERY PAGE for more photos of the factory and ideas to model and paint your factory! |