ASSEMBLY OF A COTTAGE
****************************************************************************************
Read
the entire assembly section and acquire the tools you
need before you begin. If you are a child please seek help from
an adult before you try this.
This
is a collection of assembly instructions. You will find instructions
for various cottage kits below, and that is because they are very
similar, so just apply the
instruction
to the cottage you are assembling; for example, for painting the cottage we
used the Village Cottage C, but the same principles for painting can be
applied to all the cottage kits.
These are only suggestions. If you wish to try something different, by all means please do.
****************************************************************************************
|
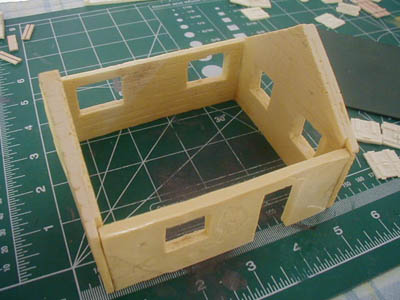
The "Stone & Stucco" cottage is built first. I used a square, such as a
block to make sure my walls were nice and square before gluing.
|
You can use the base to make sure it is squared before moving on.
|
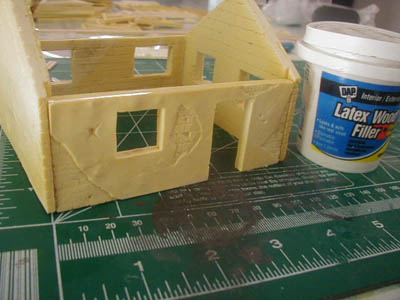
Latex wood filler is great for filling in any gaps and it looks like stucco. |
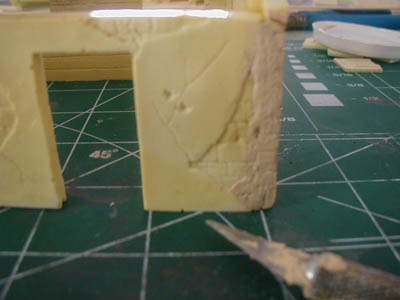
I used an old hobby knife to fill in the gaps. Once this is finished, I
began to paint the cottage. Follow the instructions next for painting. |
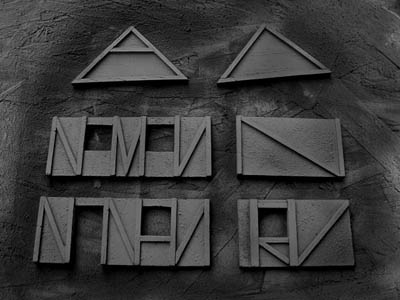
Painting the cottage: I always use a black base so the recesses are
dark. |
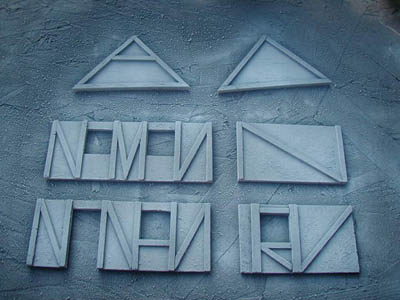
Once it is completely, dry the walls were misted with a gray. |
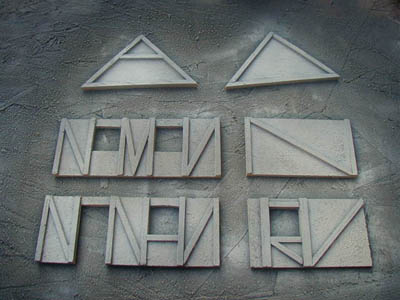
Repeat, and this time use an off-white or cream spray, once again a misting. |
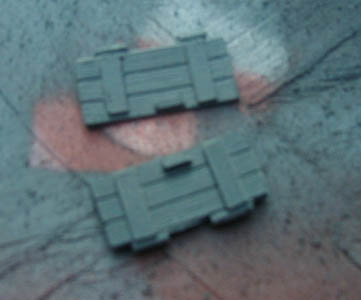
The shutters are sprayed black and then misted green (you may
choose any color you wish). |
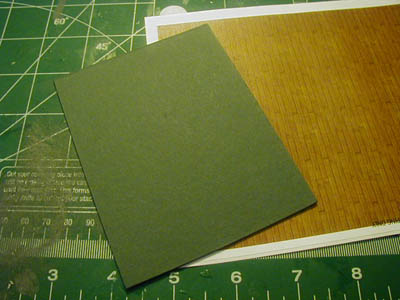
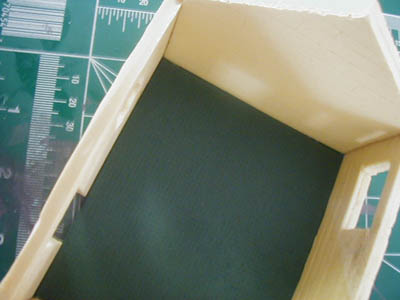
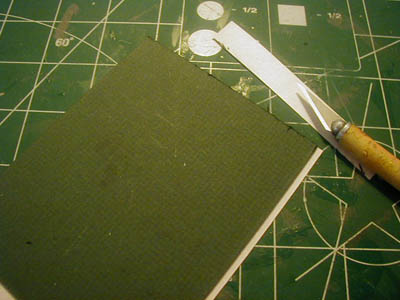
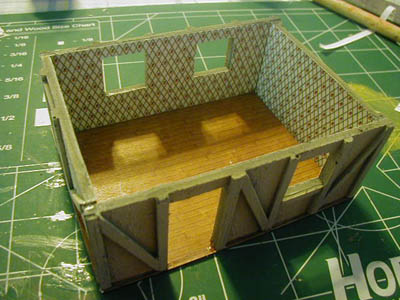
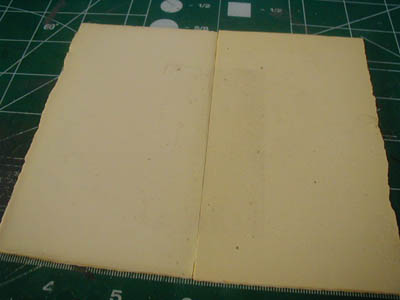
Locate the wood plank flooring sheet.
Note: The building base is thin so that it can also serve as the cottage floor.
Once the building is complete, you can mount it on another base if you wish. |
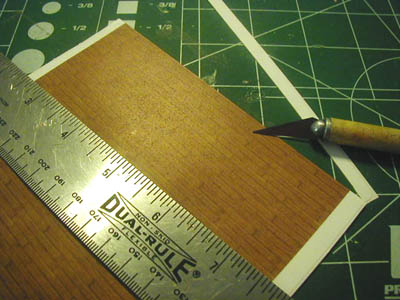
Trim off the white border. |
Peel back the wood plank floor sheet and lay the base straight along
the wood plank sheet. Press firm so it sticks very well... |
Trim off the excess paper. |
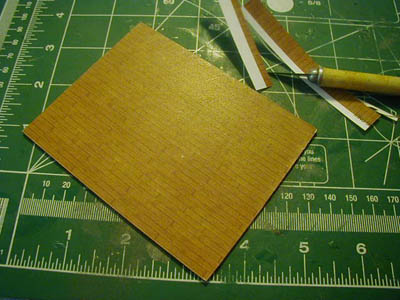
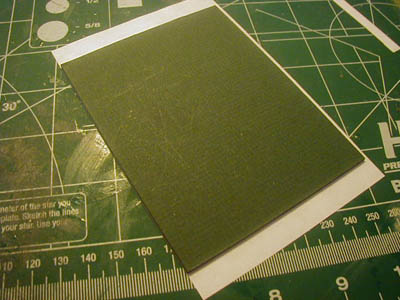
Now take a dry cloth, and rub the wood plank floor to make sure it is
nice and flat. |
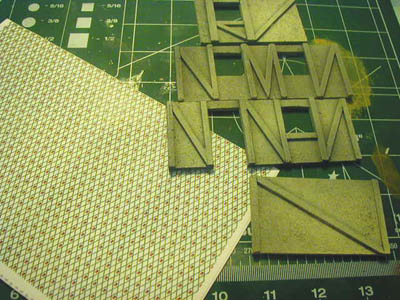
Next is the wallpaper. Trim the border as before, and peel the
wallpaper off the backing sheet. |

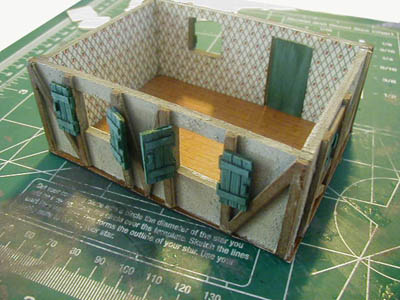
Place the walls as you see above so that they are nice and straight.
Press them on very well. Note: I used a spray on glue or glue stick
on the walls first to make sure it was nice and firm. |
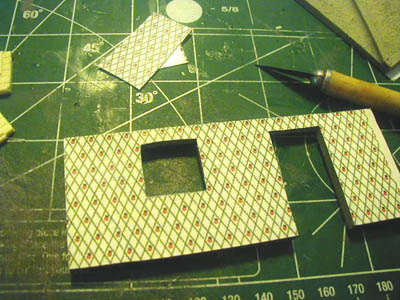
Once attached, cut the windows out with a sharp hobby knife. |
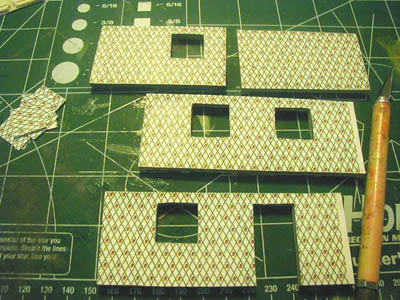
The walls are complete. |
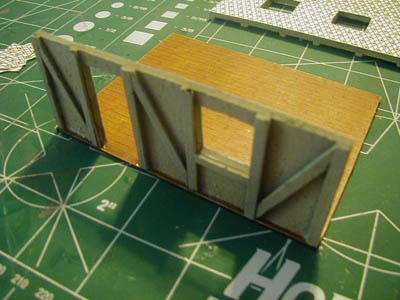
Glue the first wall in place. It is a good idea to start with a long wall first. |
Next, glue the side walls (short walls) and then the
back wall (the other long wall). |
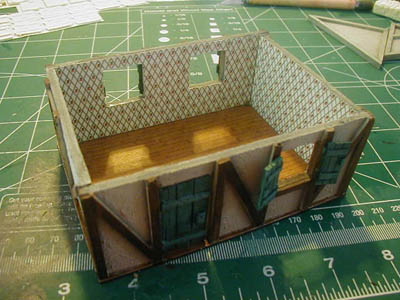
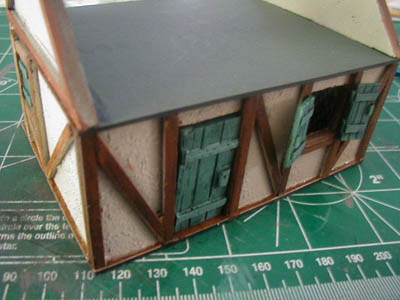
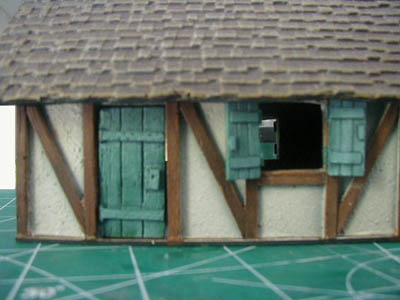
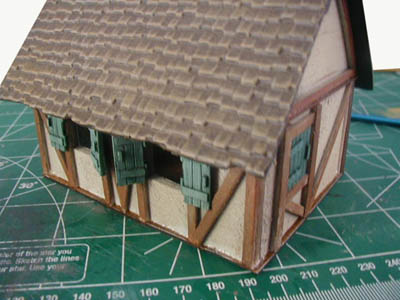
Once that was complete, I dry brushed the shutters and doors with a
lighter shade and then painted the frame beams with a dark brown. I then glued
the shutters and door in place. (You don't have to glue the door in
place if you want to have the option of it being either opened or closed.) |
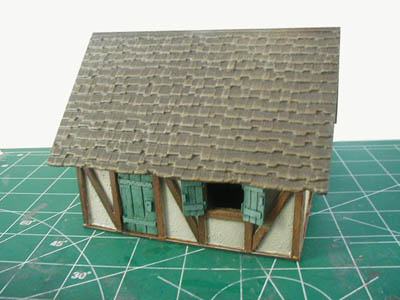
Rear view of the building. |
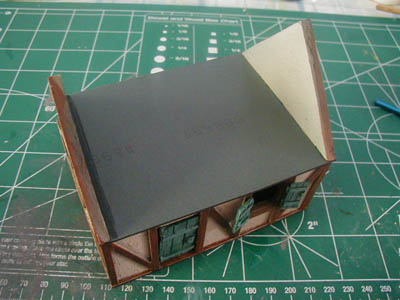
Next, I glued the roof gables onto the roof base section... |
 |
Clean the roof pieces by trimming the edges and place them down making sure
the straight edges are facing each other. Match them evenly, and
use a long piece of thick clear tape on the back of the roof section.
Make sure the tape is pressed firmly into place along the
entire length of the roof section . |
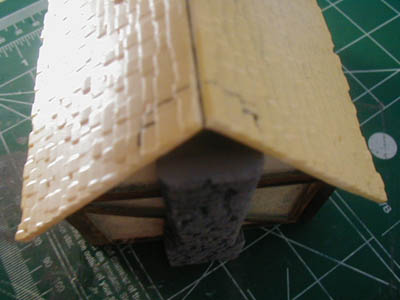
If you have a chimney, place it on the cottage wall where
you want it, and then mark the cut away area like we did here. |
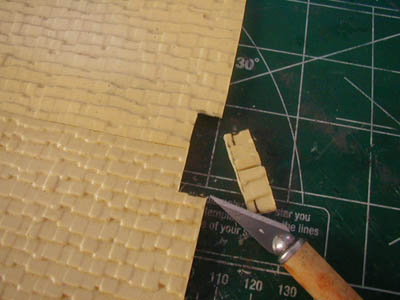
Carefully score the cut away with a sharp hobby knife. Take your time.
IMPORTANT: GO OVER THE SCORED AREAS SEVERAL TIMES
UNTIL IT "POPS" OFF. IF YOU HAVE TO FORCE IT, IT HAS NOT
BEEN SCORED ENOUGH! |
A perfect fit! |
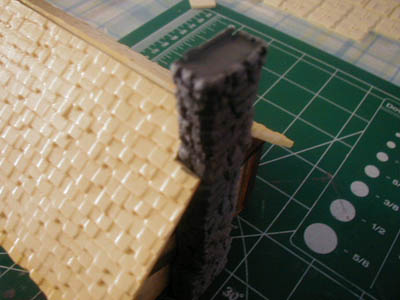
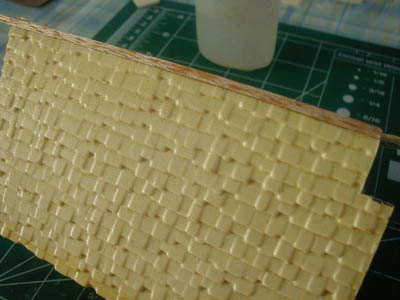
This it the tiled roof section from the stucco & stone cottage. |
Next, place the roof on the gable section. Use instant glue and
run a bead the length of the roof section between the 2 pieces. Mount
a pole between the 2 roof sections as seen above and hold in place
until dry. |
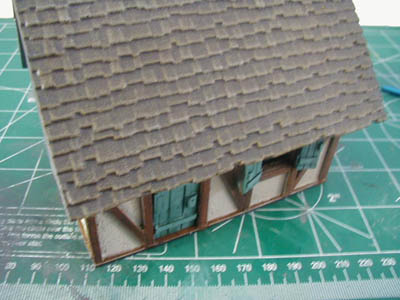
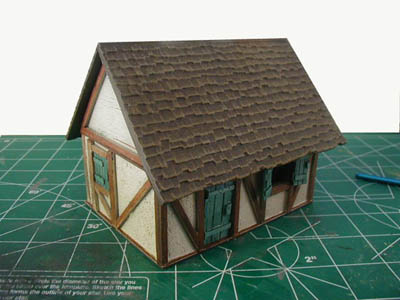
To paint the cottage, simply spray the roof flat black and let
dry thoroughly. Mist spray a dark brown and once dry, again dry brush
a lighter color of brown, and it is finished. You can try different colors
for your roof also such as dark blue or green. |
 |
 |
 |
 |
 |
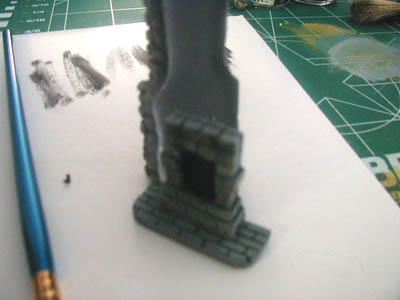
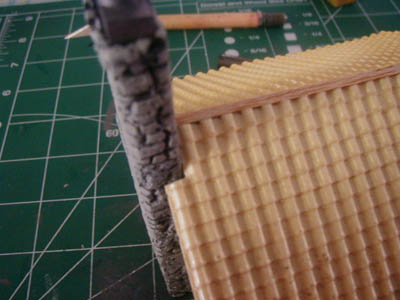
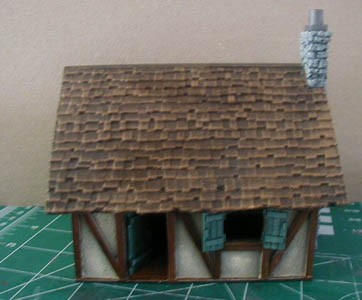
The chimney was primed black and then dry brushed gray to light
gray. |
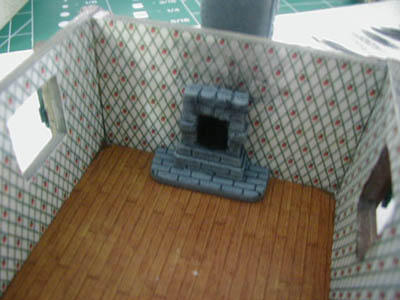
Note how the chimney and fire place are properly placed to show
they are connected. |
Well that does it. Now off to build your cottages, and remember that you can
try different things yourself.
|